
How to Replace a Side Mirror in 15 Minutes
Swapping a complete side mirror is one of the simplest repairs you can do at home: no lift, no specialist equipment, and about fifteen minutes once the right part is in your hand.
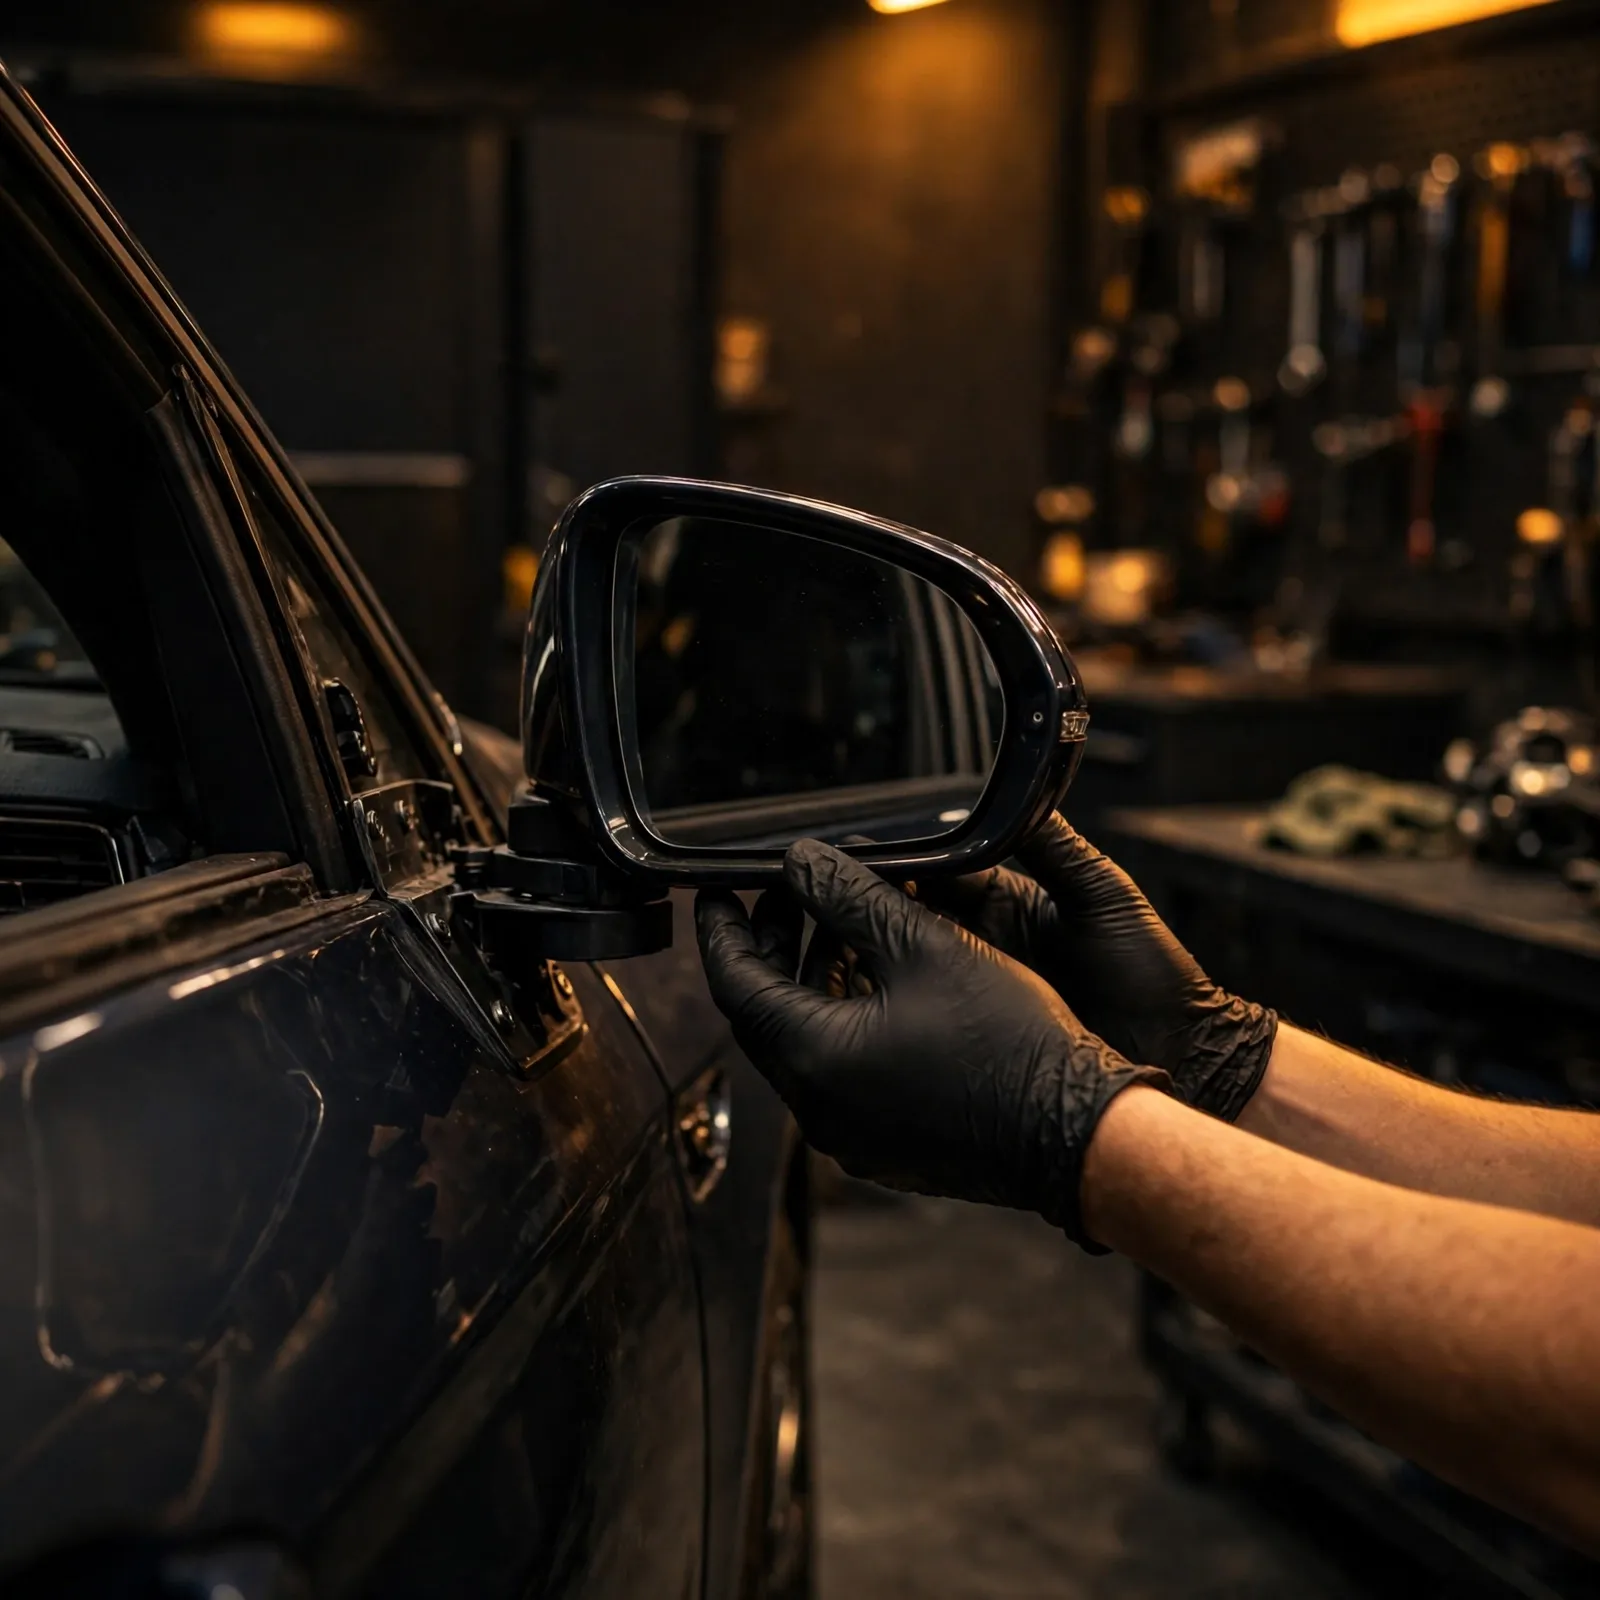
A broken side mirror looks like a body-shop job. On most cars it is not. Swapping a complete assembly is one of the simplest repairs you can do at home: no lift, no specialist equipment, and about fifteen minutes once the right part is in your hand. Glass-only swaps are quicker still. This guide covers the assembly swap step by step, with the mistakes that catch first-timers.
What You Will Need
- Trim removal tool — a plastic pry tool; a flathead screwdriver wrapped in tape works in a pinch
- Phillips screwdriver and a small socket set (mirror nuts are usually 8 or 10 mm)
- Masking tape, gloves, and a small tray for screws and clips
- The replacement mirror, matched to your vehicle by make, model, year, side, and features
Before You Start
Check the new mirror against the old one before the door comes apart: same side, same mounting studs, same wiring connector, same features. Park on flat ground, switch the ignition off, and fold the mirror in if it still folds — that keeps it out of the way. If your mirror is powered (Electric Adjustment, heating, folding, or signal), disconnect the negative battery terminal first, before touching the wiring connector. Reconnect it only after the new mirror is fitted and the connector is seated. Tape around the mirror base and along the door edge so a slipped tool cannot scratch the paint.
Removing the Old Mirror
- Pop off the interior mirror cover. On most cars this is the small triangular trim at the front corner of the window. Work a trim tool under the edge and lever gently; the clips release one at a time. Some cars need the full door panel removed instead — take it slowly, release the first clip carefully, and never yank the panel. Broken clips are the most common casualty of this job.
- Unplug the electrical connector. Follow the wiring from the mirror to the plug, press the release tab, and pull the connector apart. Never pull on the wires themselves. If the mirror is manual, there is no wiring to worry about.
- Remove the mounting nuts. There are usually two or three. Hold the mirror with one hand while you undo the last nut so the unit cannot drop onto the ground.
- Slide the old assembly straight out of the door.
Fitting the New Mirror
- Set the new unit in place. Line up the mounting studs with the holes in the door and hold the mirror flush against the surface.
- Thread the nuts by hand first. This stops cross-threading and lets the mirror seat squarely. Once all the nuts are started, tighten them evenly until snug — do not overtighten. Most mounts seat against plastic, and too much force can crack the base or pull the mirror out of alignment.
- Reconnect the wiring harness. The connector is keyed, so it only fits one way; push it straight in until it clicks, and check the wiring is not pinched behind the panel.
- Test before you reassemble. Switch the ignition on and check adjustment in every direction. If the mirror is heated or power-folding, test those functions too. Only then refit the trim or door panel and press the clips home.
If You Are Only Replacing the Glass
Glass-only is a different, shorter job, and the door panel stays on. Wear gloves and eye protection, and pry the broken glass off the backing plate with a plastic tool — gentle heat from a hairdryer loosens adhesive. Clean the backing plate until it is dry and free of old adhesive and shards, or the new glass will sit at an angle. Plug the heater lead in before you peel the adhesive backing, press the new glass on from the centre outwards so no air is trapped, and hold it firmly for half a minute. Let the adhesive cure — a full day is safest — before driving.
Five Mistakes to Avoid
- Overtightening the mounting nuts and cracking the base.
- Yanking the trim panel and snapping clips; spare clips are cheap, but a broken panel is not.
- Forgetting to test the mirror before the trim goes back on — finding a dead motor afterwards means doing the job twice.
- Pinching the wiring harness behind the panel, which can blow a fuse or kill the adjustment.
- Driving straight after a glass-only swap, before the adhesive has set.
When to Let a Repair Shop Do It
Some mirrors are glued rather than bolted, and some carry a camera or blind-spot system that needs calibration after fitting. If the door panel work looks beyond your tools, or the wiring is different from anything in this guide, hand it to a repair shop — the part is the same, and a professional fit takes them minutes.
Need the right mirror before you start? Send us your OE number, vehicle model and year, or a photo of the old mirror, and we will match the exact assembly or glass for your vehicle.
Send your OE number, vehicle model and year, or a photo of the part to ttmirrorasales@gmail.com or WhatsApp / Phone +86 19352932951 — we reply within 12 working hours.